
How to Make Your Own Bathroom Shelf with $20: A Budget-Friendly DIY Storage Upgrade
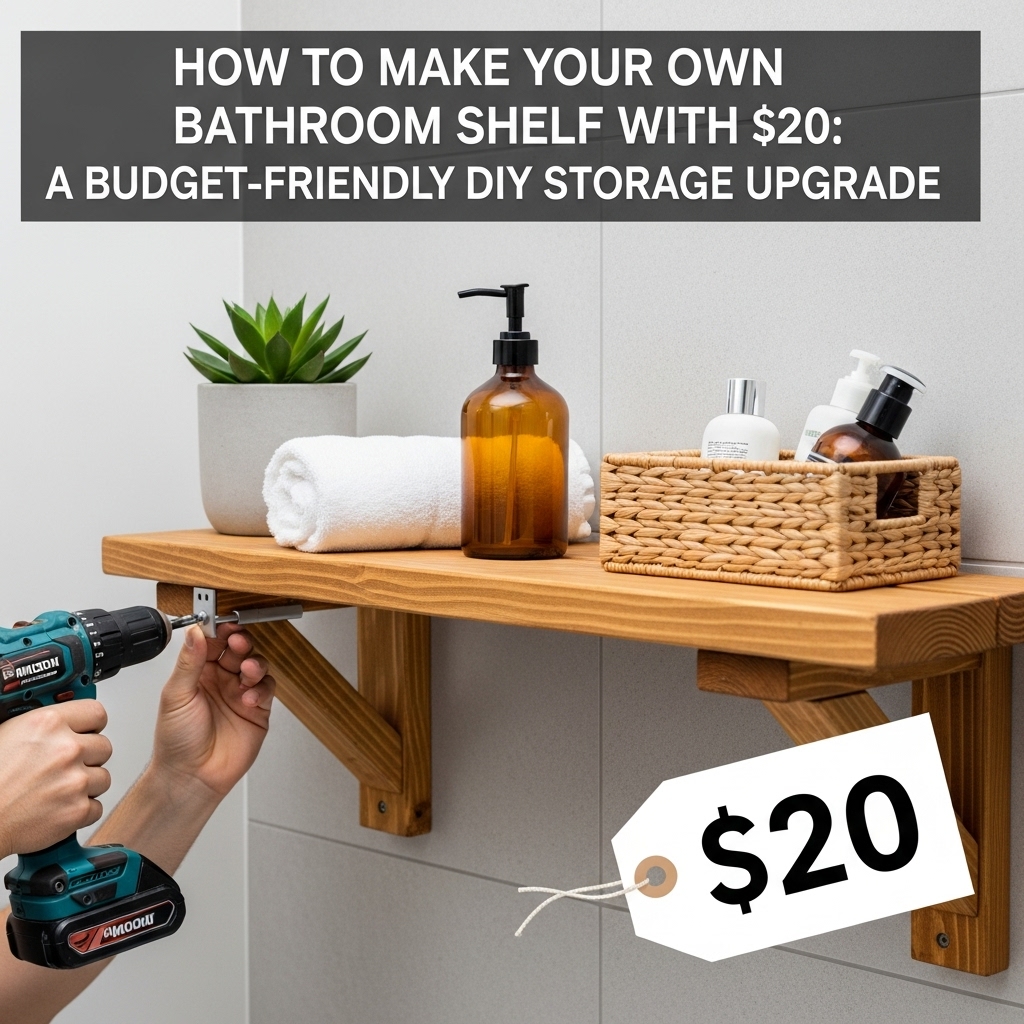
Creating a stylish and functional bathroom shelf does not require expensive materials or professional tools. With thoughtful planning and simple supplies, you can build a bathroom shelf for under $20 that looks polished and intentional. This DIY project is perfect for small bathrooms that need extra storage without clutter. It also allows you to customize size, finish, and style to match your space. This guide walks you through the process in a practical, beginner-friendly way.
Why a DIY Bathroom Shelf Is Worth Making
A DIY bathroom shelf offers both storage and style while staying budget-friendly. It allows you to maximize vertical space, especially in small bathrooms. Building your own shelf ensures the size fits your wall perfectly. You also gain control over materials and finishes. The result feels more personal than store-bought options.
What You Can Build with a $20 Budget
Even on a small budget, you can create a shelf that looks high-end.
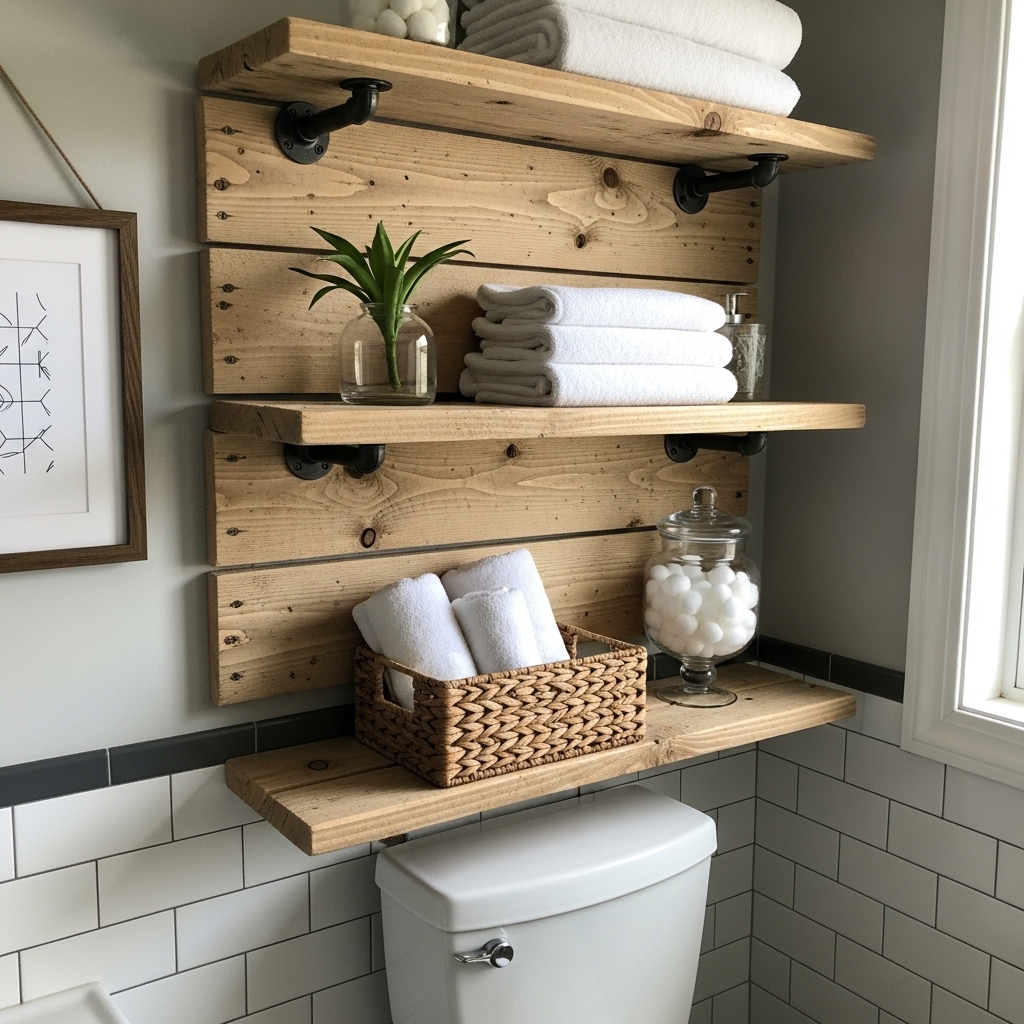
- Floating wooden shelves for modern bathrooms
- Rustic wall shelves with brackets
- Minimalist open shelves for small spaces
- Over-the-toilet storage shelves
- Compact shelves for towels and toiletries
Materials You’ll Need (Budget Breakdown)
| Item | Estimated Cost | Notes |
|---|---|---|
| Wood board (pine or MDF) | $8–10 | Cut to size at store |
| Shelf brackets | $5–6 | Basic metal or wood |
| Screws & wall anchors | $2–3 | Essential for safety |
| Sandpaper | $1–2 | Smooth finish |
| Paint or stain | $3–4 | Optional if wood is finished |
Tip: Repurposed wood or leftover paint can reduce costs further.
Step-by-Step: How to Make Your Bathroom Shelf
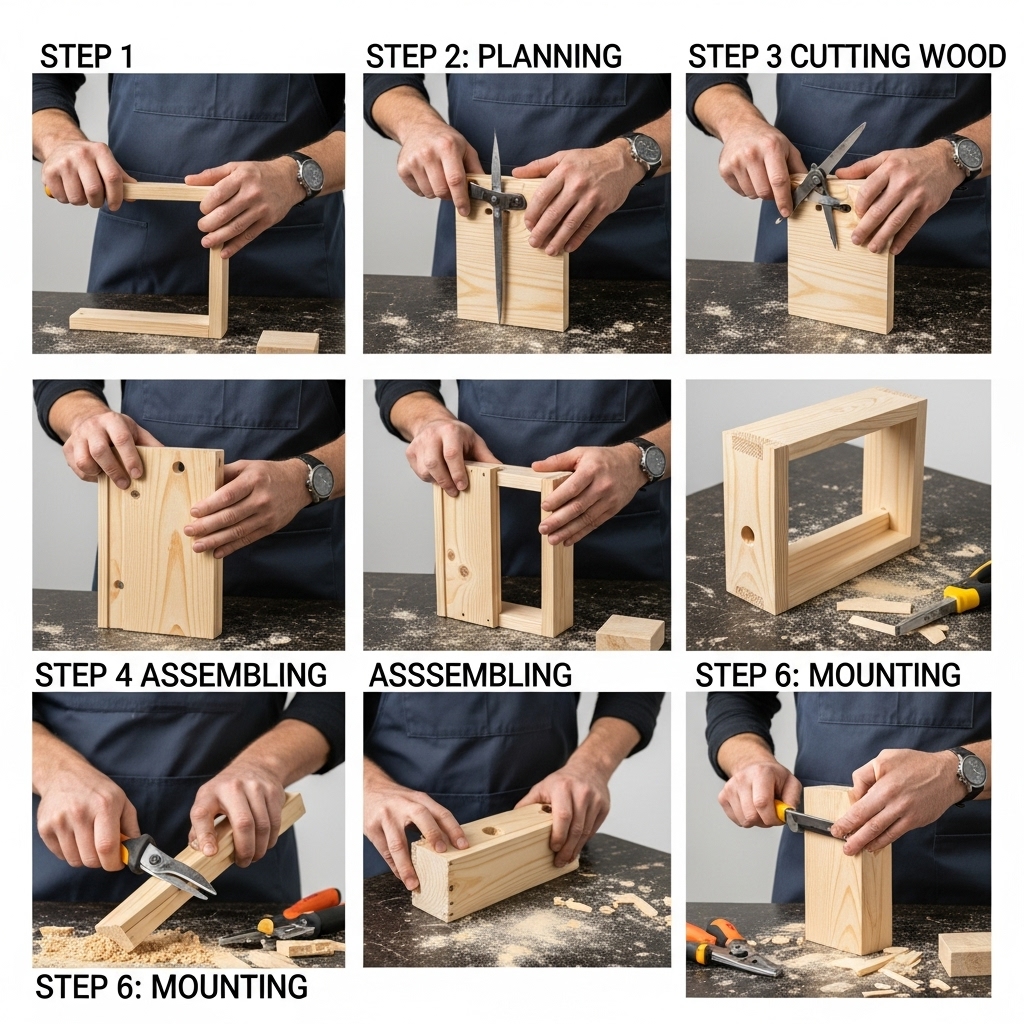
Planning the Shelf Size and Placement
Start by measuring the wall area where the shelf will be installed. Consider what you plan to store, such as towels or toiletries. Leave enough clearance above sinks or toilets. Mark your placement clearly before drilling. Proper planning prevents mistakes and wasted materials.
Preparing the Wood
Sand the wood board to remove rough edges. Wipe away dust before painting or staining. Apply a light coat and allow it to dry fully. This step improves durability in humid bathrooms. A smooth finish also looks more professional.
Installing the Brackets
Use a level to mark bracket placement evenly. Secure brackets into wall studs or anchors. Tighten screws firmly to support weight. Proper installation ensures safety and longevity. This step is crucial for shelf stability.
Mounting the Shelf
Place the shelf on the installed brackets. Secure it with screws from underneath if needed. Double-check that it sits level. Test weight capacity gently. Your shelf is now functional and secure.
Styling Your Bathroom Shelf
Styling enhances both function and visual appeal.
- Roll towels for a spa-like look
- Use small baskets for toiletries
- Add plants for freshness
- Include neutral containers for balance
- Avoid overcrowding to keep it clean
Common Mistakes to Avoid
DIY shelves are simple, but small mistakes can cause issues.
- Skipping wall anchors
- Using untreated wood in damp areas
- Installing without a level
- Overloading the shelf
- Ignoring spacing around fixtures
FAQs About DIY Bathroom Shelves
Can I really build a bathroom shelf for $20?
Yes, with basic materials and smart sourcing, a functional shelf can be built within budget.
What type of wood works best for bathrooms?
Pine, sealed MDF, or reclaimed wood treated with sealant work well in humid spaces.
Do I need power tools?
A drill and screwdriver are helpful, but many stores cut wood for free.
How much weight can a DIY shelf hold?
When properly anchored, it can safely hold toiletries, towels, and decor.
Is this project beginner-friendly?
Yes, this is an excellent beginner DIY project with minimal steps.
Conclusion
Building your own bathroom shelf for $20 is a practical and rewarding DIY project. It adds storage, improves organization, and enhances your bathroom’s overall look. With basic tools and materials, anyone can complete this project confidently. Thoughtful planning ensures durability and style. This simple upgrade proves that budget-friendly DIY can still feel high-quality and intentional.

